
How to create a school page
Add an "About me" or "Contacts" page to your school site, show it in the menu, make it the home page, hide it from Google and set how it looks in search.
Short answer
Open the "Pages" section and click "New page". Enter a name and an address, then click "Create page". The same editor as for a product page opens. When the page is ready, click "Publish".
In this guide
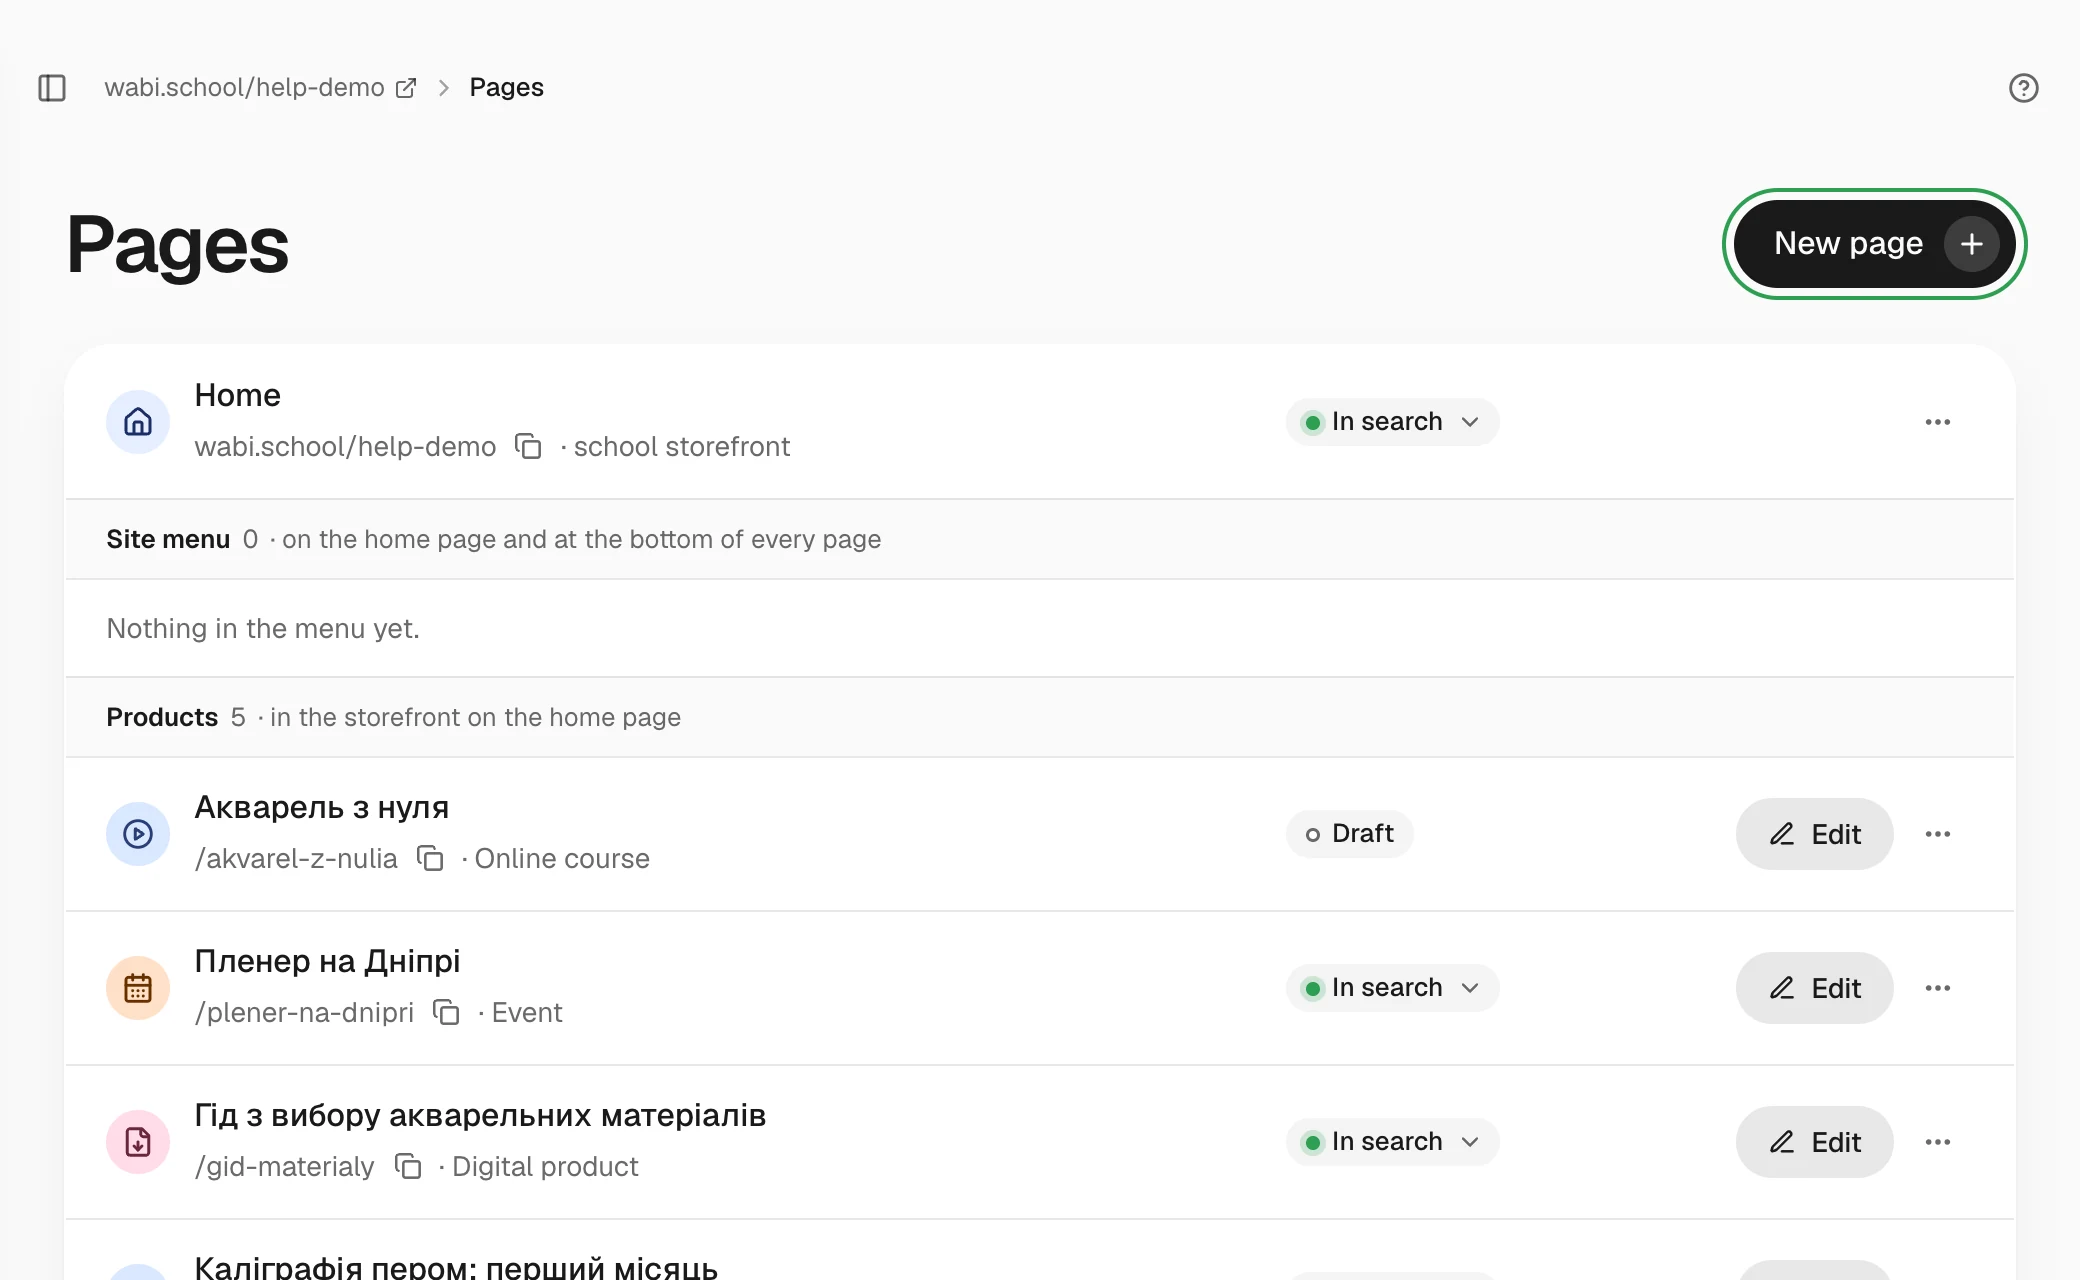
The Pages section lists every page of your site, grouped the way the site is: Home, Site menu, Products, Other pages and Documents and service pages. This is also where you create your own pages: "About me", a portfolio, contacts. A page lives at your school's address, for example /about-me.
Create a page
- Open Pages and click New page.
- Fill in the Name field or pick one of the suggestions under it.
- Check the Page address. Use Latin letters, digits and hyphens, and don't reuse a product's address.
- Leave Show in the menu on if the page belongs in the site menu.
- Click Create page. The page starts as a draft, and the editor opens right away.
The editor is the same as for a product page: you change sections, text, photos and design the same way (How to edit your product page). A page has no tariffs and no course programme. To show your products on it, add the Products section.
Publish the page
While the page is a draft, only you see it. Click Publish in the editor's header. You can change the visibility later with the pill in the page's row or in the editor's header:
- In search: the page is published and Google shows it in results.
- Link only: the page opens by its link, but Google doesn't show it.
- Draft: only you see it.
Set up the page
Click the page's name in the list to open its settings. Here you change the name, the address, the Short description and the Cover. If you change the address, the old one redirects to the new one.
Under Search and links, set the Search title and the Search description. While they are empty, Google gets the page's name and short description. The same part holds the Link image, which Telegram, Facebook and Google show when the link is shared. Your own image must be exactly 1200×630 px, JPG or PNG, up to 5 MB. Click Save page.
A product page's settings open the same way. There you change its address, search details and link image; the name and description are changed in the product itself.
To delete a page, use the "⋯" menu of its row: Delete page. The page's version history and the photos uploaded to it go with it.
The site menu
Pages with Show in the menu appear on the home page and at the bottom of every page of your school. You add a page to the menu or remove it in the "⋯" menu of its row. To change the order, click Reorder in the Site menu strip, move the pages with the arrows and click Done.
To put these pages in the header too, turn on Show in page headers. The site menu then appears in the header of every page of your school, product pages included.
Choose the home page
At first the home page shows the School storefront: your photo, bio and products. To open one of your pages there instead, choose Make it the home page in the "⋯" menu of that page's row. The page's Products section turns on by itself. A draft becomes the home page once you publish it.
To bring the storefront back, use the same menu: Remove from the home page.