
How to set up your school
What you change in "Settings": the author profile, the school's address, name and logo, the footer line, the link card, the wabi.school badge, school documents and your account.
Short answer
Open "Settings" → "School". Here you change the author profile, the school's address, name, logo, footer line and school documents, for every product and page at once. Payments are connected on the "Accepting payments" tab, and your email and password are on the "Account" tab.
In this guide
Settings has three tabs: School, Accepting payments and Account. Above them is the School setup strip: it shows what isn't set up yet, and a click on an item opens the right place. A mark next to a tab means something there needs attention.
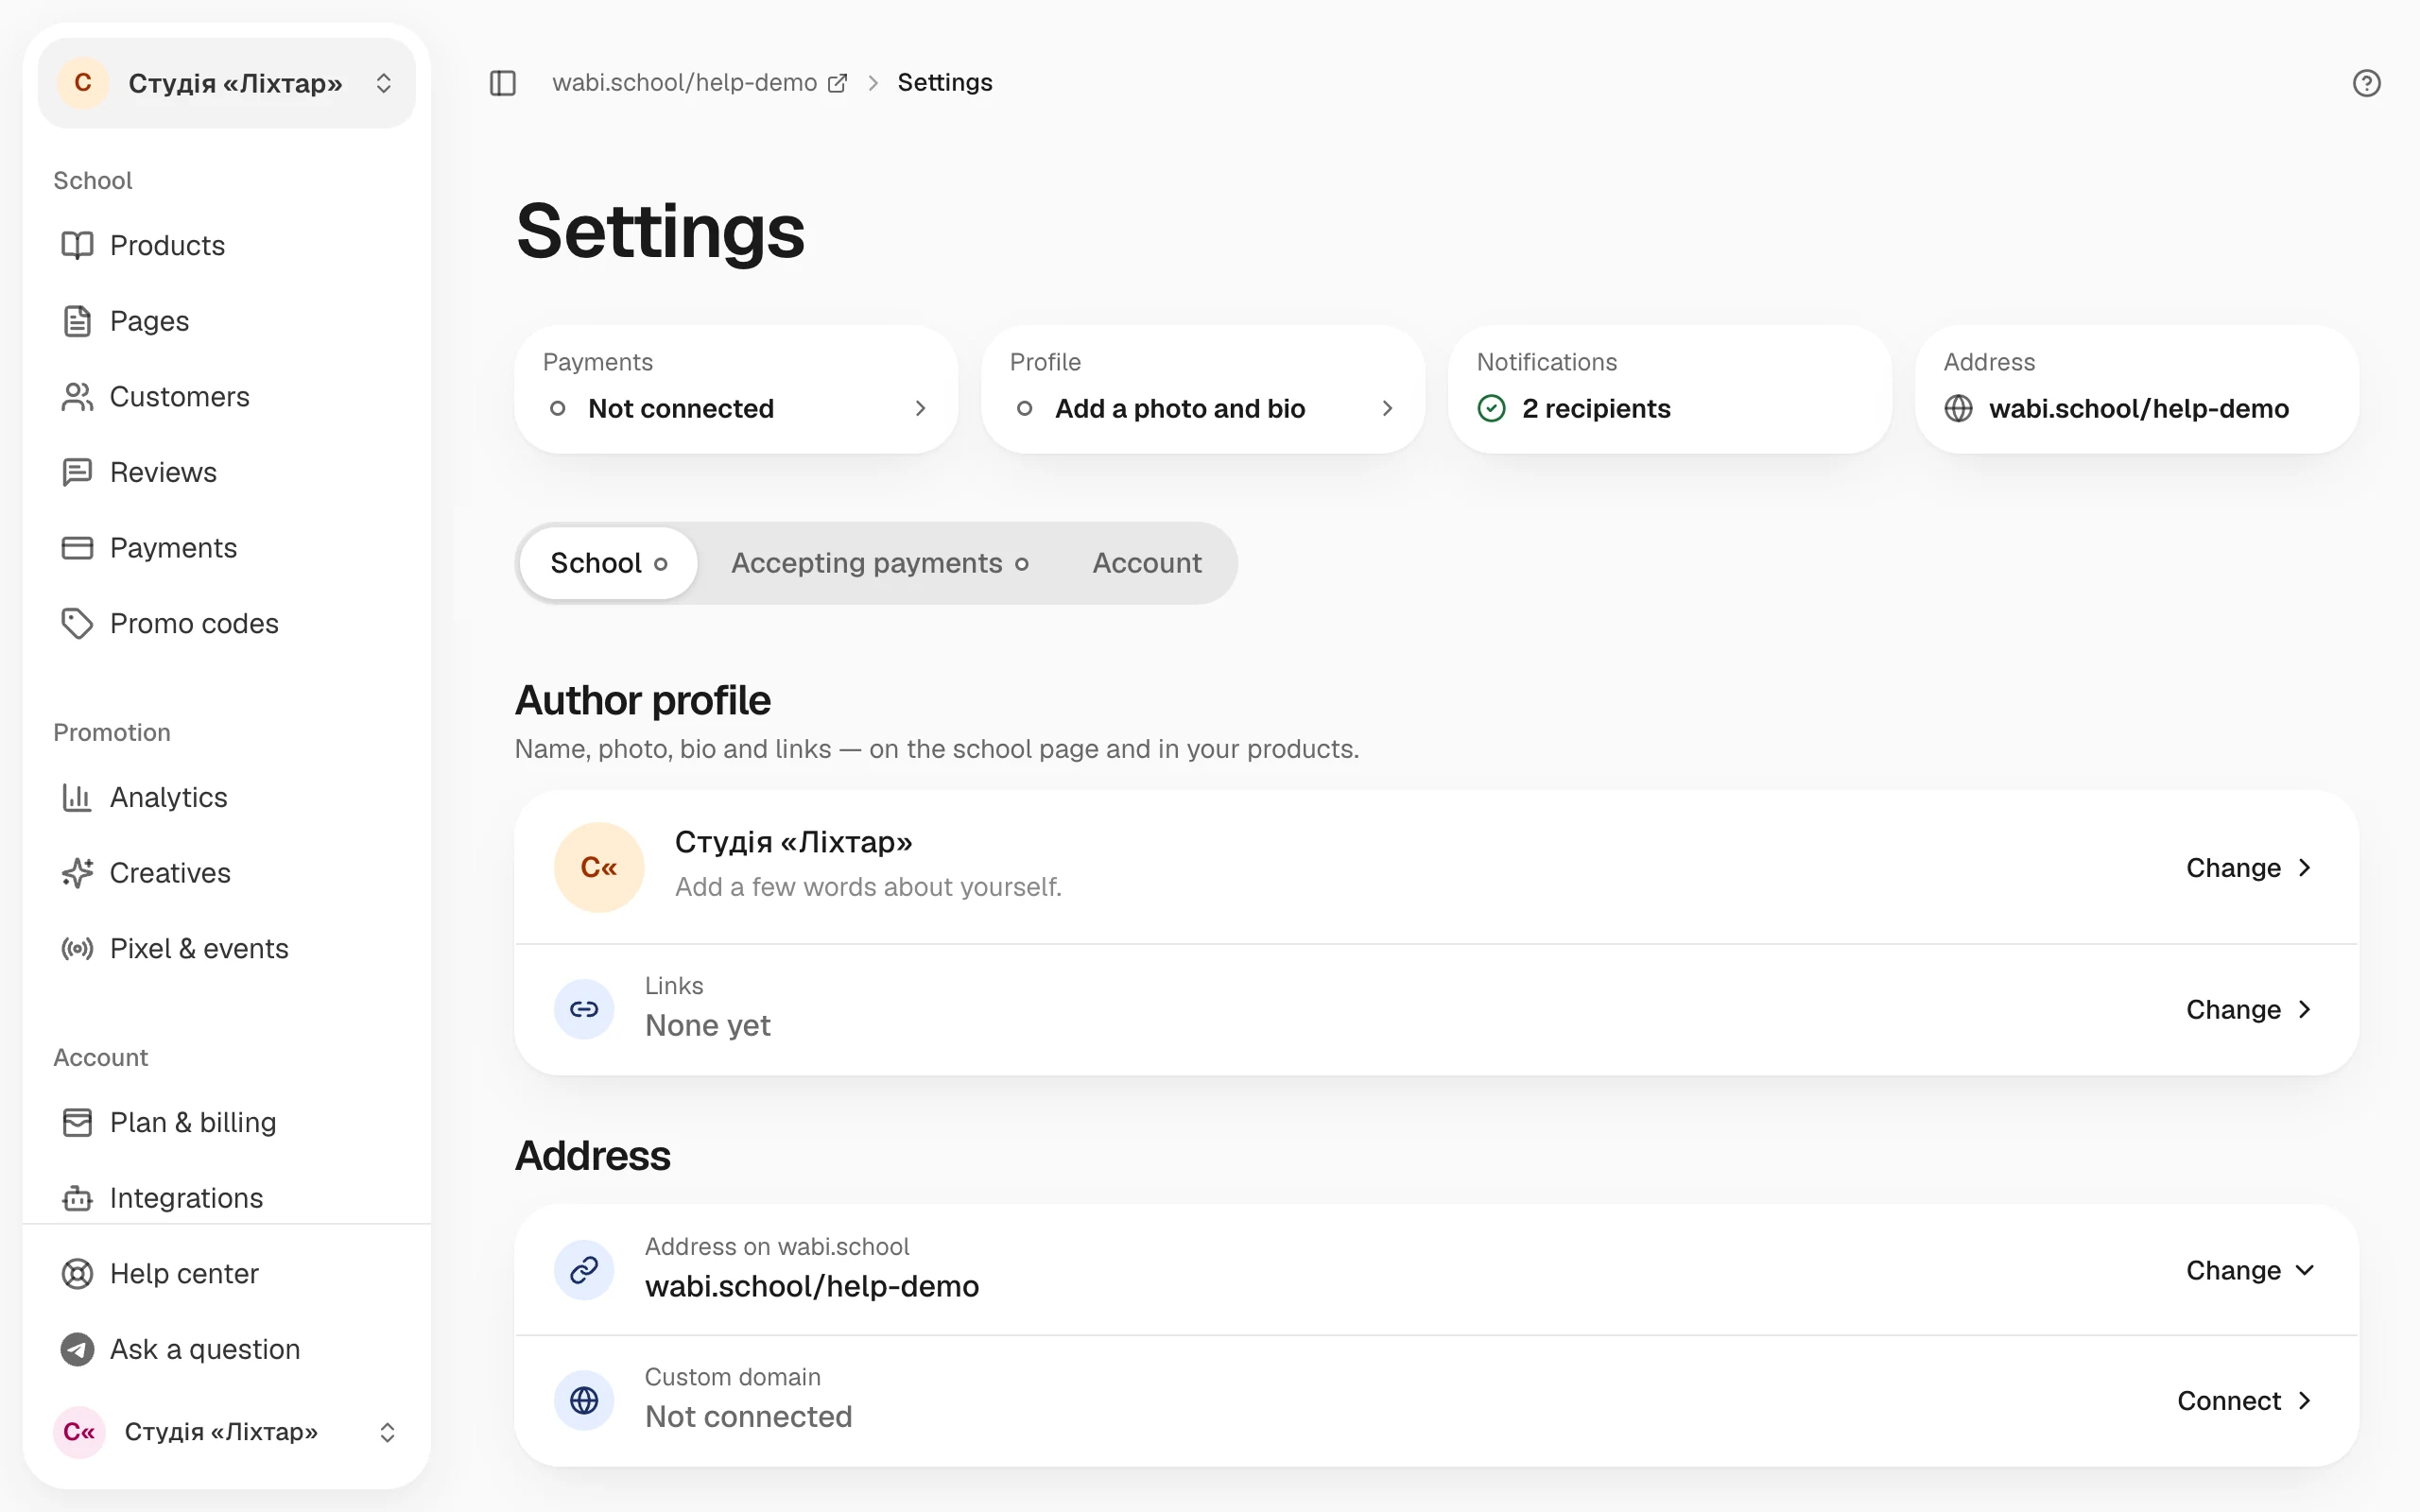
Author profile
Your name, photo, bio and links show on the school page and in your products.
- Open Settings → School and click the card in the Author profile block.
- Fill in the Name and About you fields.
- Upload a Photo: JPG, PNG, WebP or AVIF up to 2 MB. The photo is saved right away. Click it to choose what stays in frame.
- In the Links field, paste your social media addresses. Wabi fills in the network's name.
- Click Save profile.
School address
In the Address block, the Address on wabi.school row changes your school's address on wabi.school. Use Latin letters, digits and hyphens; the old address will redirect to the new one. Your own address, such as school.com.ua, is connected in the Custom domain row: How to connect a custom domain.
Brand
Everything in the Brand block applies to every page of your school at once:
- School name: shown in the page header and the browser tab.
- Footer line: the line under the school's name at the bottom of every page: Default, Own text or Don't show.
- Logo: SVG, PNG, JPG or WebP up to 2 MB. It replaces the icon next to the name in the header and footer.
- In the header: what the header shows: Logo and name, Logo only or Name only. The logo-only option is available once a logo is uploaded.
- Link card: the image Telegram, Instagram or Facebook show when someone shares a link to your school. Choose the colour of the generated card or upload your own: JPG or PNG, exactly 1200×630 px, up to 2 MB.
- wabi.school badge: the wabi.school label on your pages and in emails. You can hide it once your own domain is connected.
You can also change the footer line and the header right in the page editor, in the Footer and Menu rows. Those changes apply to the whole school too.
School documents
The School documents block holds your contacts, public offer, refund terms and privacy policy. You fill them in once for every product, and a single product can carry its own text. Click Fill in next to a document to write it, or Create from a questionnaire to have Wabi draft the texts from your answers.
Payments and account
- Accepting payments: connecting Monobank or WayForPay: How to connect payments with Monobank or WayForPay.
- Account: Sign-in email, Password, Interface language and signing out. Your account is shared across all your schools. A new email starts working once you confirm it in the email we send; until then the old one works. A password needs at least 8 characters.