
How to add lessons, modules and video to a course
How to add lessons and modules, upload video or write a text lesson, choose a cover, attach materials, open lessons on a schedule and set up a free preview lesson for your course.
Short answer
Open the course and go to the "Lessons" section. Click "Add Lesson", type a name and press Enter, then open the lesson and drag a video file into it. The video saves by itself, and to group lessons, click "Add module".
In this guide
Add a lesson
- Open the course and go to the Lessons section.
- Click Add Lesson, type a name and press Enter.
- Click the lesson in the list to open it. In the Description field, briefly write what the client learns in this lesson.
- Click Save lesson.
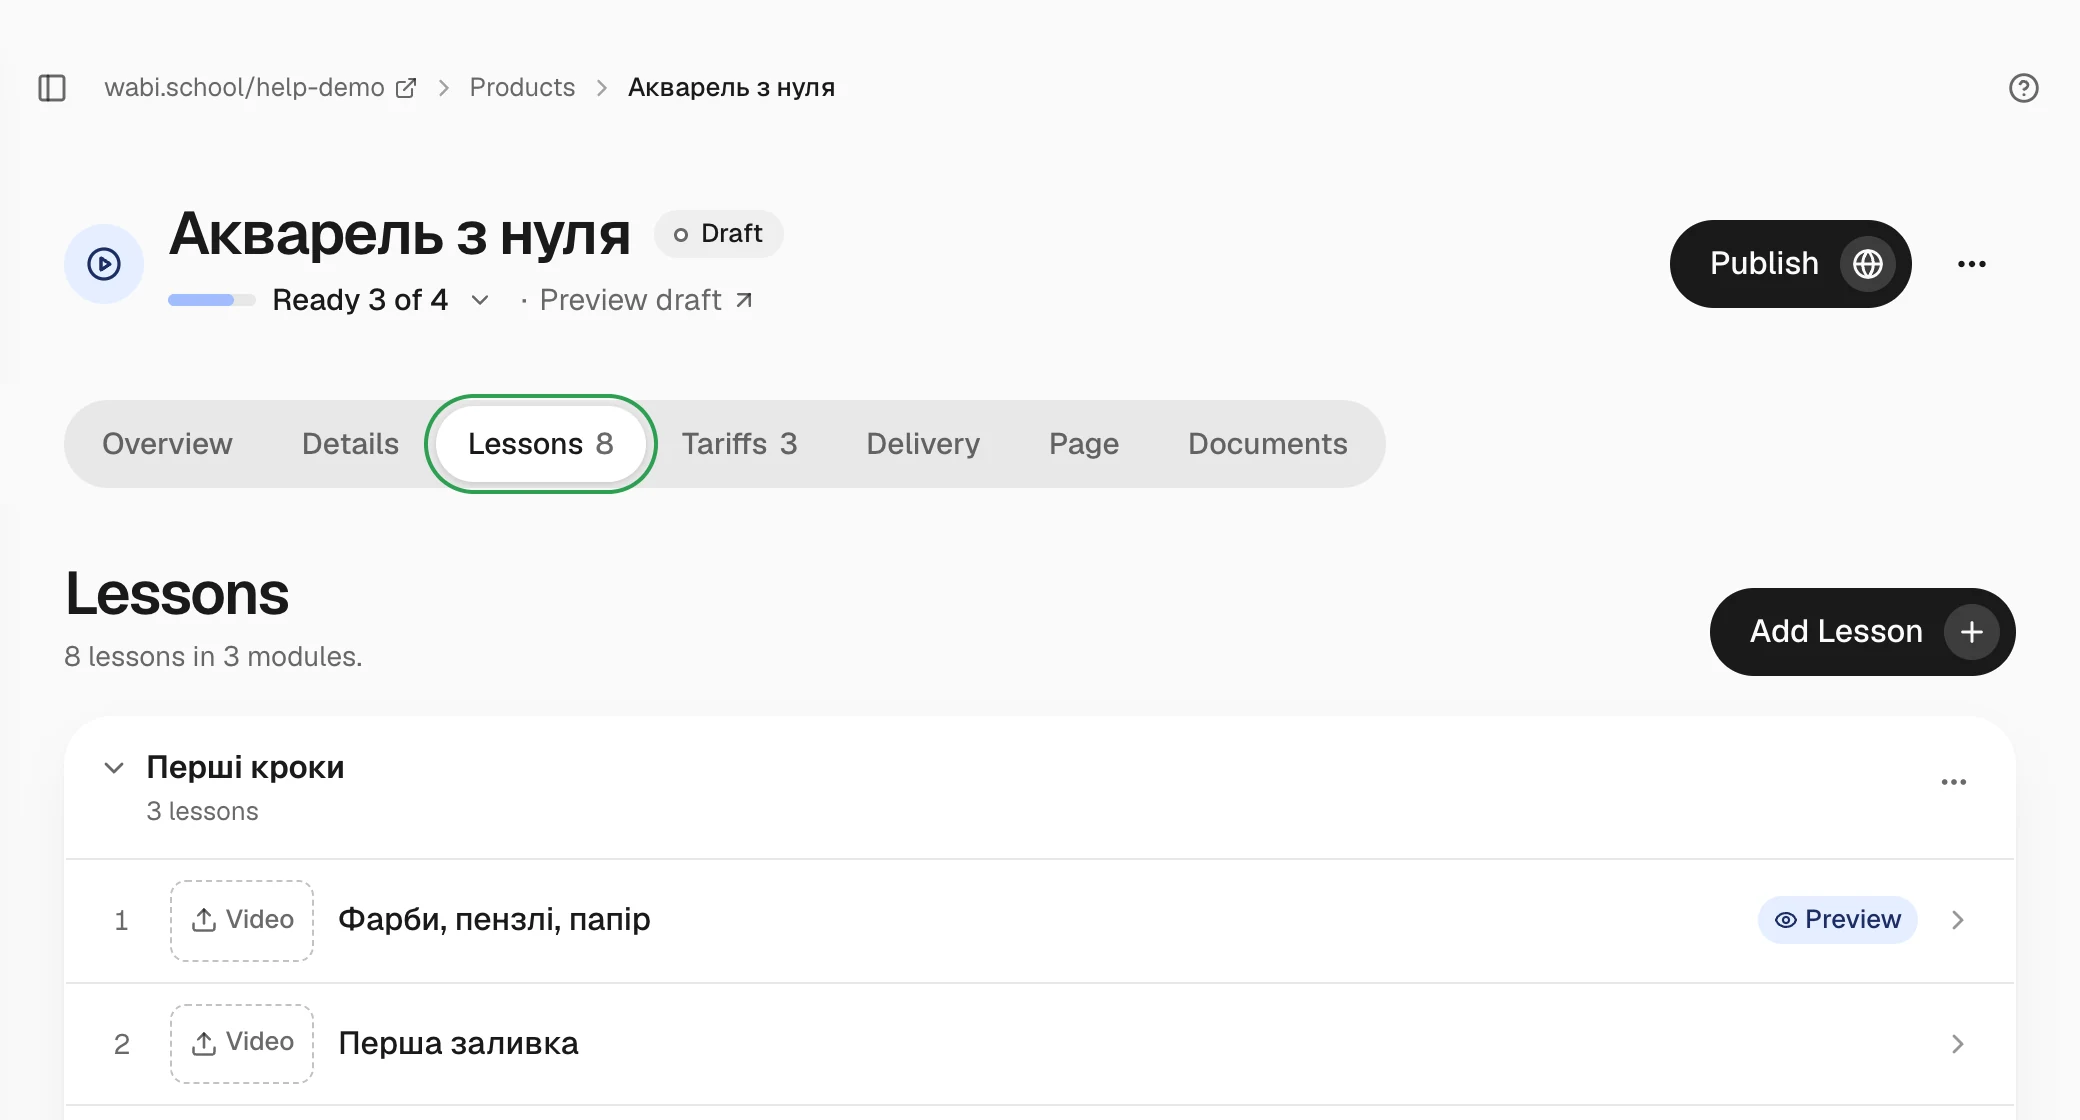
To change the order, drag a lesson in the list. The lesson's address is created from its name automatically.
A lesson without video
Video in a lesson is optional. A lesson can be text, files, or both:
- In the Lesson text field, write the lesson itself: explanations, steps, links. You can use headings, lists, bold text and links. Only people the lesson is open to see this text.
- Description is a short teaser. Everyone sees it in the course programme on your sales page, so don't put paid content there.
- Add workbooks, PDFs and audio as materials (see below).
The lesson text saves with Save lesson. You can add a video to such a lesson later.
Upload a video
- Open the lesson and drag a video file into the frame, or click the frame to choose a file. Each lesson holds one video.
- Wait for the upload to finish. You can close the lesson panel and keep working, because progress shows in the lesson list. Don't close the browser tab while the file uploads.
- After the upload, the video is processed, which usually takes a few minutes. Now you can close the tab: the Ready status appears by itself.
The video saves right away, with no "Save" button. Two files upload at a time, and the rest wait in the queue.
If an upload is interrupted, choose the file again. If a replacement video fails to upload, the lesson keeps showing the previous one.
Choose a lesson cover
Every lesson has a Cover field. This is how the lesson looks in the course programme on your sales page and in Telegram. The cover always keeps the video's 16:9 proportions.
A lesson without video can take your own image or stay at No cover; your image also stands on the lesson page where the video would be. The video's frames and Auto appear once the video is ready:
- Auto: the video host makes the cover, a still frame that turns into a short animation when a visitor scrolls to it. You can't choose which part of the video goes into the animation.
- One of five frames from the video: a still cover from that frame.
- Own image: upload your own image (JPG, PNG, WEBP or AVIF, up to 10 MB) or take one from your brand's media library. A landscape 16:9 image works best; other shapes get cropped at the edges.
The cover changes right away, with no Save button. On the published page the new cover can take a few minutes to show up.
Group lessons into modules
Click Add module, type a name and press Enter. The module appears at the end of the program. Drag lessons into it. To reorder modules, use the module's menu.
When a client sees the lesson
In the When a client sees the lesson field, choose:
- Right after payment: the usual option.
- After a few days: the lesson opens after the number of days you set following purchase, or following the course start if that is later. Lessons open at 9:00 Kyiv time. You set the course start date in the tariffs: How to set up tariffs for a product.
- Free preview: everyone sees the lesson on the course page before paying. It's a good way to show how you teach.
Add materials
In the Lesson materials block, add files that clients download under the lesson: workbooks, checklists, audio. You can use PDF, EPUB, ZIP, DOCX, XLSX, PPTX, MP3, M4A, PNG, JPG, WEBP and TXT, up to 50 MB per file and 10 files per lesson. Only people who already have the lesson open can see the materials.