
How to create your first course in Wabi
Step by step through the creation wizard (type, details, copy, price, look) and how to add your first lessons while the course is still a draft.
Short answer
Start creating a product from the dashboard home and go through the wizard (Type, Details, Copy, Price, Look, Review), then click "Create course". The course appears as a draft. Next, add lessons in the "Lessons" section and publish the course when it is ready.
In this guide
What you need
A course name, a few sentences about it, and a price. AI can write the copy for your sales page. If the course is already described on your website, you can bring the copy, program, photos, and reviews over from there.
Go through the wizard
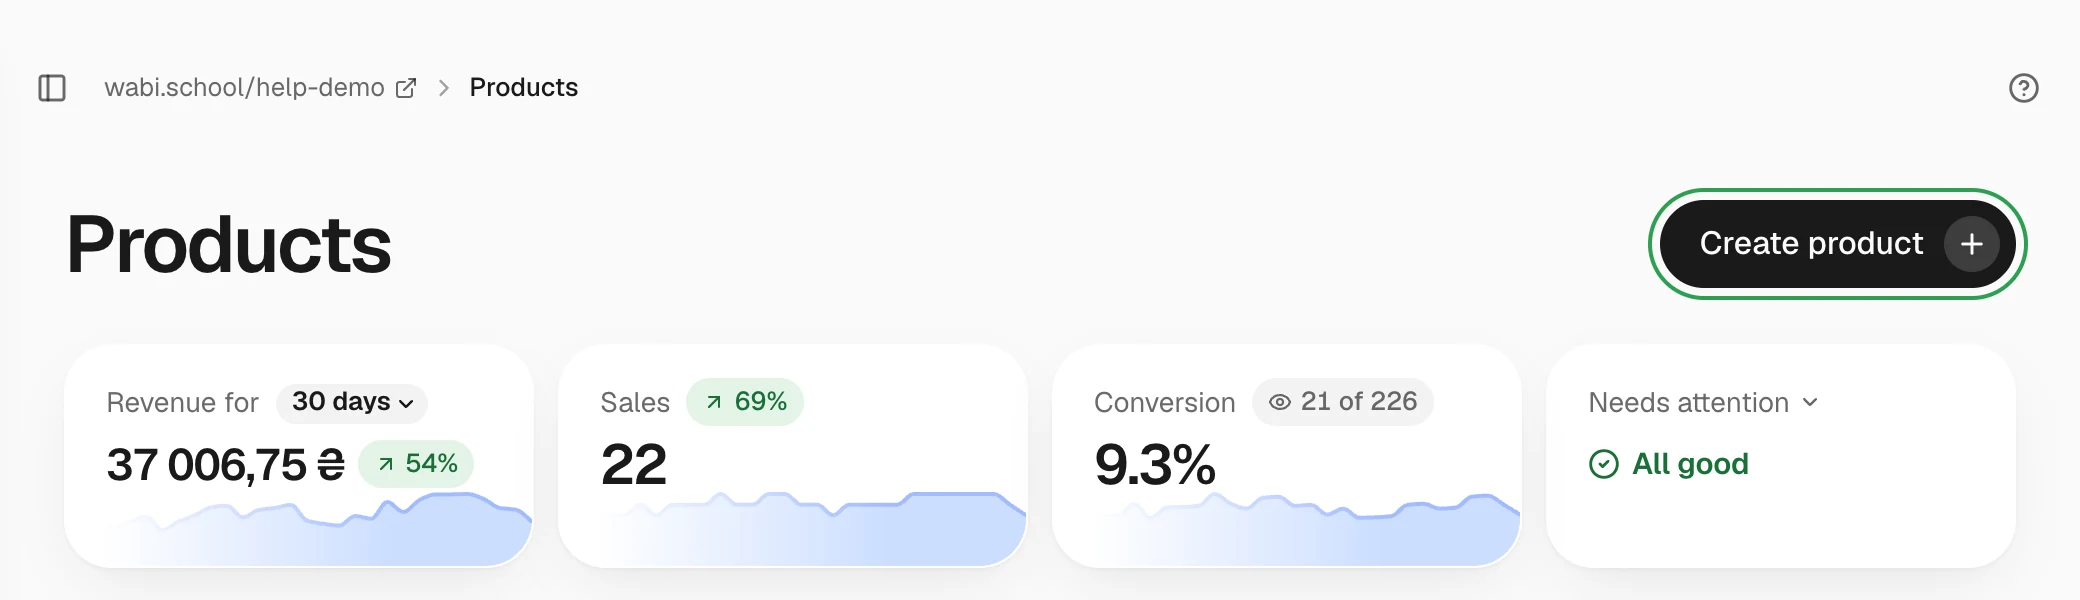
- On the Products page, start creating a new product.
- Type step: choose Online course.
- Details step: choose From scratch and enter a name and description, or choose Bring it over from my site to take everything from your page.
- Copy step: choose AI writes it. AI asks a few questions and writes the headline, benefits, and frequently asked questions. Or choose I’ll write it and fill in the sections in the editor later.
- Price step: set a price or make the course free. This creates one tariff. You can add more later.
- Look step: pick a template and a layout for the first screen — the preview shows at once how the page will look. In the editor every section has its own layouts, and through AI agent you can create a unique design.
- Review step: check everything and click Create course.
The course appears as a draft. Buyers can't see it until you publish it.
Add lessons
Open the course, go to the Lessons section, and click Add Lesson. A lesson marked Free preview is visible to everyone before payment, so a visitor can try the course.
What's next
When the course is ready, publish it. The article on preparing and publishing a course explains what to check first.