
Connect Wabi to Claude
Connect the Claude AI agent to your school, see what it can do on its own, what it only prepares for your approval, and where to check what it changed.
Short answer
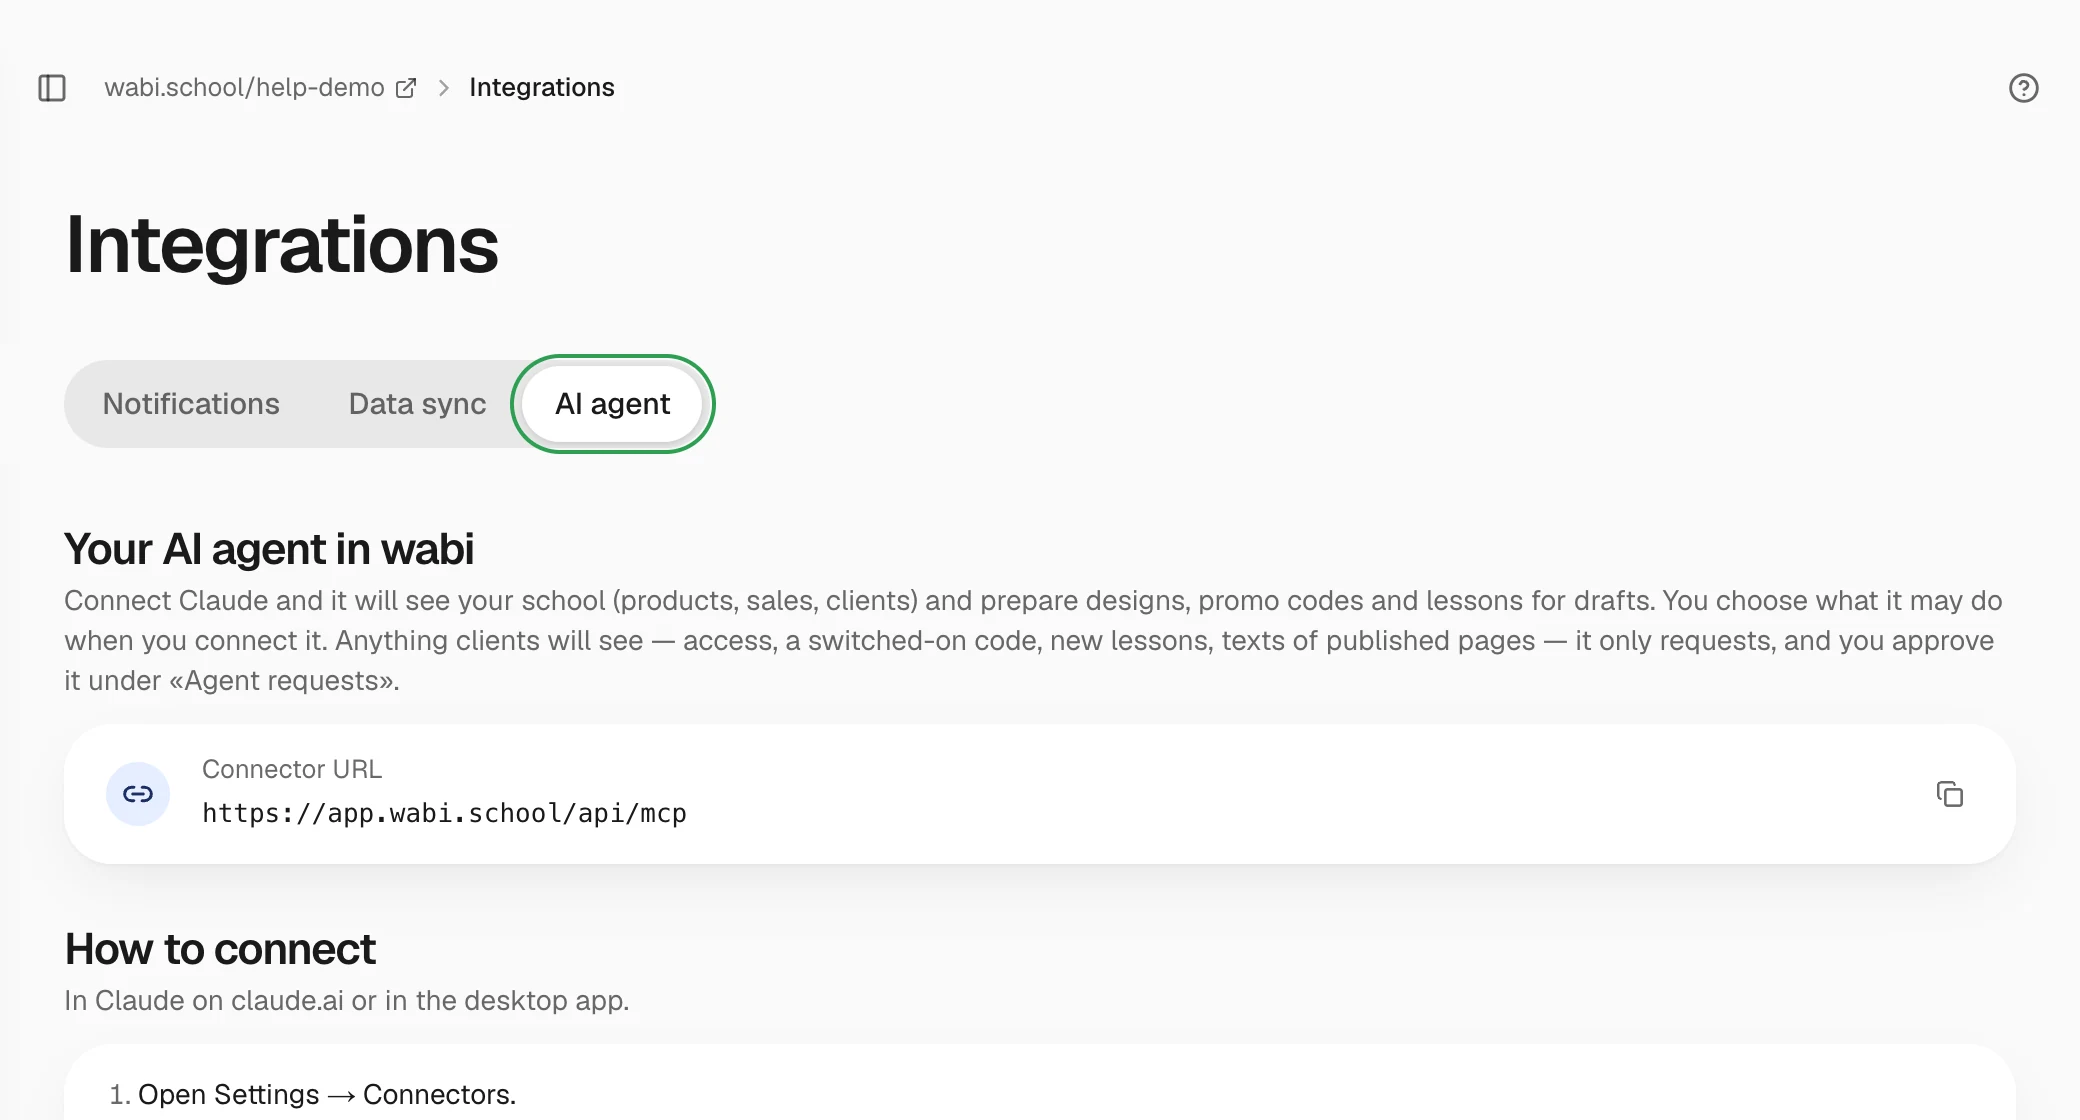
Open "Integrations" → "AI agent" and copy the connector URL. In Claude, open Settings → Connectors, click Add custom connector, paste the URL and click Connect. On the Wabi page, choose your school, check the permissions and click "Allow".
In this guide
The agent works with one school. It sees your products, sales and clients, and it prepares page designs, promo codes and lessons. Anything that gives something to a client, it only prepares. It runs only after you approve.
Connect the agent
- Open Integrations → AI agent and click Copy URL.
- In Claude on claude.ai or in the desktop app, open Settings → Connectors.
- Click Add custom connector, paste the URL and click Connect. A Wabi page opens.
- Choose your school, check the What the agent can do block and click Allow.
The connection lasts up to 90 days. Claude asks permission for each tool separately. "Always allow" applies to one tool only.
To start with a page design, copy the ready-made first message with Copy message.
What to allow the agent
You turn permissions on with switches while connecting:
- See pages and Design drafts and page texts: read your pages and prepare design drafts; on from the start.
- School: products, sales, students: clients' emails and phone numbers are partly hidden.
- Course structure: add modules and lessons (titles only).
- Promo codes: create and turn off promo codes.
- Students: access requests: prepare access grants.
- Students: full contacts: clients' full names, emails and phone numbers are passed to the AI service. Turn this on only if you really need it.
The agent doesn't change prices, payments or lesson texts.
What the agent does on its own and what needs your approval
On its own, the agent can:
- create promo codes, which are created switched off;
- add modules and lessons to a draft course;
- draft page designs and texts.
Only after you approve:
- turn a promo code on;
- give a client access, or take back access you gave by hand;
- add lessons to a published course, which clients see at once;
- change the texts of a published page.
Approve or decline a request
Requests appear at the top of the tab, in the Agent requests block. They also arrive in Telegram if you have notifications connected. The request card shows exactly what will change and warnings about what to check.
- Approve runs the request. If a client gets access, they receive an email.
- Decline changes nothing. Decline anything you didn't ask the agent for.
Everything the agent changed or asked for in the last 90 days is in the What the agent did block.
Disconnect the agent
In the Connected agents block, click Disconnect next to the connection. The agent loses access at once, and the drafts it made stay.