
How to give a client access manually and manage clients
How to add a client who paid outside Wabi or got a gift, move students over from another platform with a table, extend or close access, fix a login email and find a buyer in the list.
Short answer
Open "Customers", click "Add client", choose the product and tariff, then enter the email, reason and access duration and save. Access opens right away, the client signs in with a one-time code sent to their email, and gets an email with a link if you add them on their own.
In this guide
What you get
A client gets access to a product without paying on Wabi, for example if they paid by bank transfer or got the course as a gift or compensation. They don't need a password: they sign in with a one-time code that arrives in their email.
Add a client
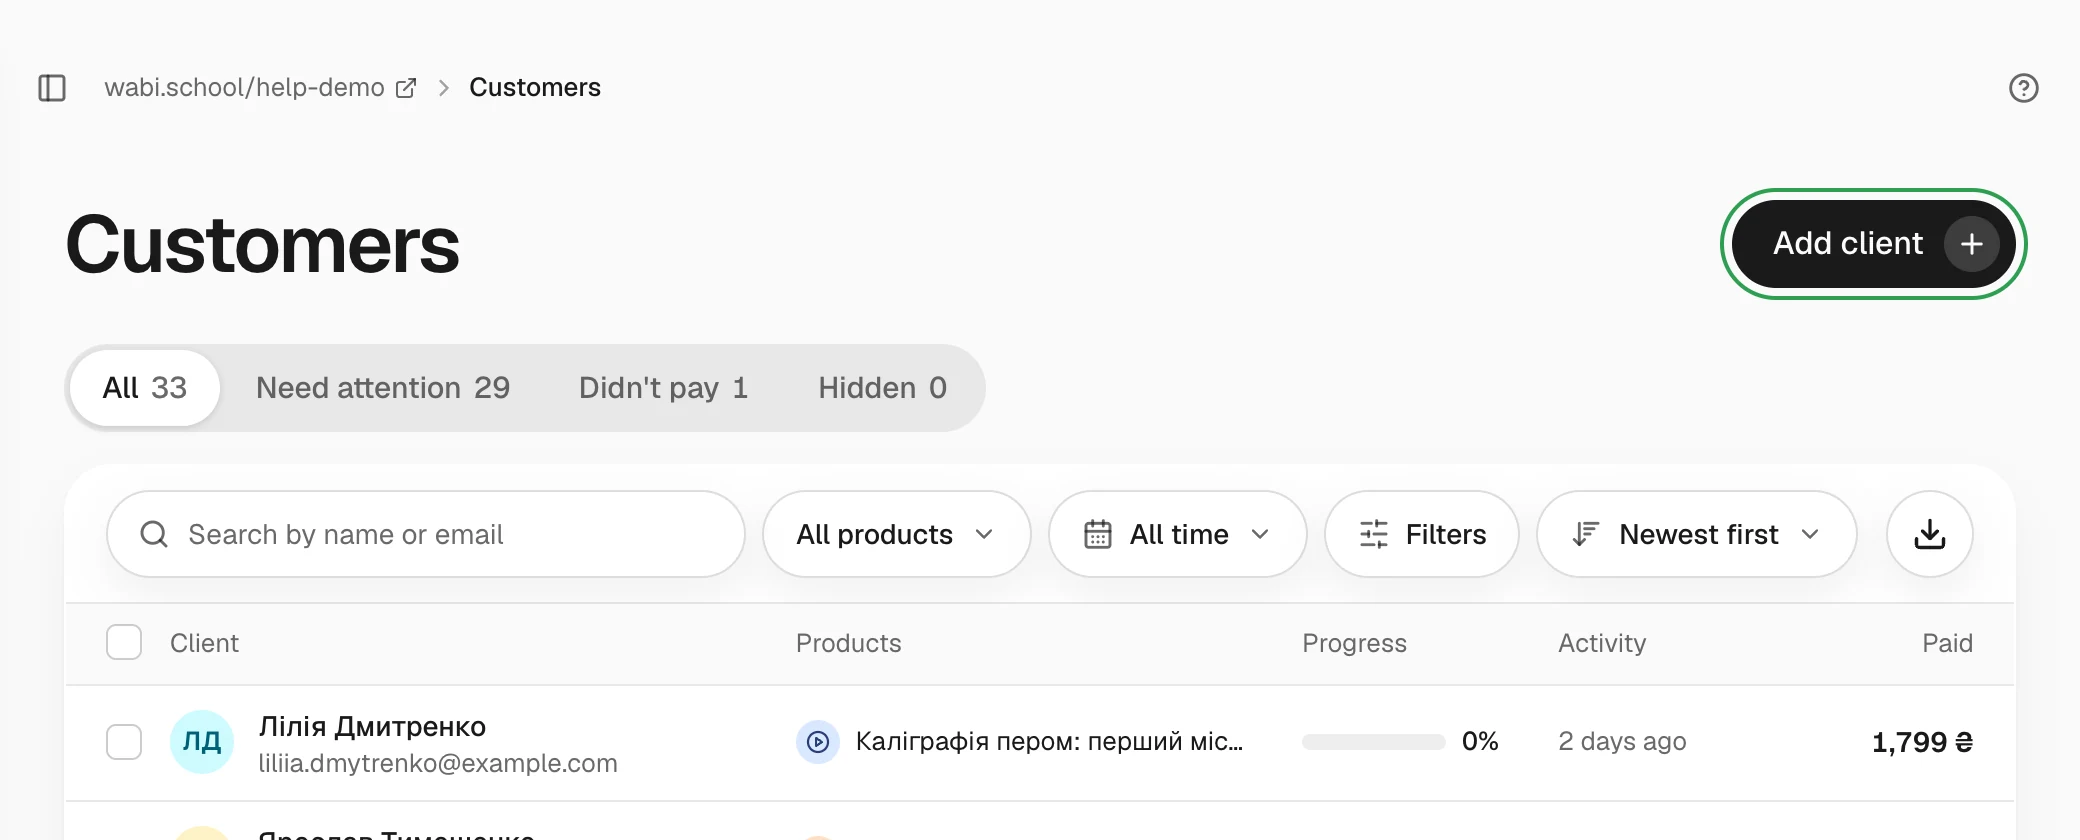
- Open Customers and click Add client.
- In the What to open block, choose the product. In the Tariff field, choose the tariff whose terms the client gets.
- In the Email field, enter the client's email. They sign in to the product with it, so check it carefully. To add several people with the same access, paste up to 50 addresses, separated by commas or one per line, for example a column from a spreadsheet.
- In the Reason field, choose why you're opening access. Wabi remembers the reason you picked last time. For Paid outside Wabi, enter the amount, date and payment method. This amount counts toward your revenue. Gift, Compensation and Test access are added with no amount.
- In the Access duration block, keep the tariff's period, or choose Lifetime or Until a date.
- If you're adding one client, keep Send an access email selected so they get a link to the product. Click Add client.
When you add several clients at once, no emails go out. Tell them yourself, or send access to each one: open the client's card and click Send access.
If the client already has this access, nothing changes and Wabi tells you so. You can't add a client if the tariff has no spots left or if the client is hidden. In that case, restore them to the list first. If some addresses in a list don't go through, they stay in the field with the reason, and the rest are added.
Move clients over from another platform
If your school is moving to Wabi, don't add students one by one — upload a table.
- Export your students from the old platform as a CSV, or open them in Google Sheets or Excel.
- In Customers, click Import from a table and upload the file, or paste the copied rows with their headers. Up to 2,000 rows at a time.
- Check what each column holds. Wabi recognises Email, Name, Phone, Purchase date, Access until and Product or tariff on its own — correct it if it guessed wrong. You need an email column or a Telegram ID column.
- Choose a product or tariff for every row. If the table has a product column, choose a product here for each of its values. Then choose the access term: as in the tariff, No end date, or from the "Access until" column.
- Click Check. Wabi shows how many rows are ready, who already has access, where an email or date is wrong and who repeats. Nothing changes until you click "Import".
- Click "Import" and keep the page open until it finishes. You can download the rows that weren't added as a CSV with the reason.
Do it in your dashboard
Import clients from a tableOpens the right screen with the button highlighted.
Moved clients are marked Moved over: they don't count toward revenue and don't appear in "Payments", and the purchase date from the old platform shows on the client card. The import doesn't check a tariff's seat limit — these people bought earlier.
Wabi doesn't tell moved clients about the move. Tell them yourself: in your old channel, newsletter or bot. Ask them to open your school's site, click Sign in and enter the email from your table — a 6-digit code arrives there. Once signed in, their courses are in the account menu under My library. What this looks like for the client: How to sign in to your course after buying.
Students from a Telegram bot with no email (Zenedu, for example)
In a bot export some buyers have only a Telegram ID and no email. Wabi imports those rows separately: their access doesn't open at once but waits until the person confirms it. Mark the Telegram ID column and, if there is a revenue column, keep Only people who paid on so plain subscribers aren't moved.
After the import the summary shows Telegram-only buyers: a link to your school's bot and a ready "We've moved…" text. Copy it with Copy text and post it in the old bot's channel or broadcast. The person opens the bot via the link, the bot recognises their Telegram and gives them a button to your school's page. There they enter an email and the code from the letter — the access opens for that email, and lessons start arriving in the bot. A stranger using the same link gets nothing: the bot checks the exact Telegram account from the table.
How many people have claimed access shows in the same block on Customers while someone still waits. To close access for those who never confirmed an email, click Remove unclaimed.
Open access for a client who is already on the list
Open the client's card, click «⋯» and choose Open access to a product. You don't need to type the email: Wabi suggests a product the client doesn't have yet. The rest works the same as adding a client.
Find a client
The Customers list has a search by name or email, and filters by product, payment, source and tag. The Need attention tab collects people who need action, and Didn't pay collects people who started paying but didn't finish. You can export the list with your current filters to CSV.
Click a client to open their card: access and payments, progress, tags and notes. Only you see the tags and notes.
Extend or close access
- Extend. In the client's card, click Extend access next to the product and choose a period. You can extend access that has an end date, but not lifetime access or a subscription.
- Close. Take back access appears only next to access you opened manually. You can't cancel a purchase made through Wabi this way, only by refunding the payment.
- Hide. The Close access and hide option closes all of the client's access and cancels their subscriptions, while the payment history stays. The client moves to the Hidden tab. You can restore them from there, but you'll need to open access again.
Fix the login email
If a client made a typo in their email when buying, open their card, choose Change login email in the menu, enter the correct address and click Change email. Their access, payments and notes move to the new email.