
How the creator dashboard works
A map of the Wabi dashboard: what each menu section holds and the order of the first steps that get your first product ready for sale.
Short answer
The dashboard menu has three groups. Work covers products, pages, clients, reviews, payments, and promo codes. Promotion covers analytics, creatives, and the pixel. Account covers your plan, integrations, and settings. To start, fill in your school settings, create a product, add a tariff, publish, and connect payments.
In this guide
Menu sections
The dashboard menu has three groups: daily work with your school, promotion, and account settings.
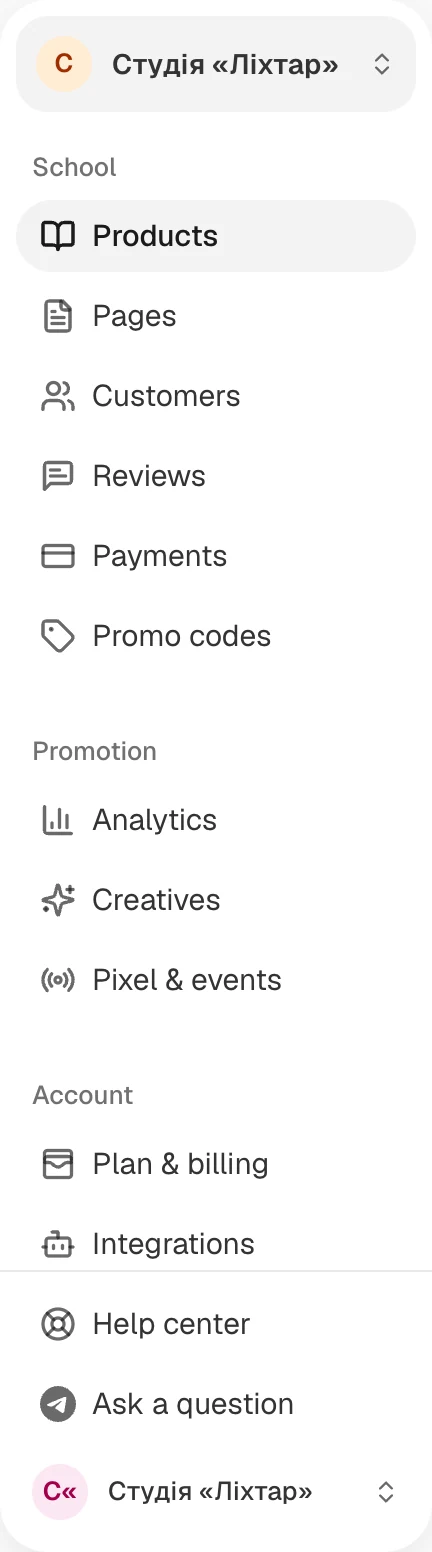
Work
- Products — your courses, events, and digital products. A product page has everything you need to sell: lessons or files, tariffs, the page buyers see, and documents.
- Pages — other pages of your school's site, such as "About me" or "Contacts".
- Customers — everyone who bought or got access. You can also grant access by hand with the Add client button.
- Reviews — buyer reviews.
- Payments — payments, refunds, and subscriptions.
- Promo codes — discount codes.
Promotion
- Analytics — where visitors come from and which of them buy.
- Creatives — ready-made images for ads and social media.
- Pixel & events — ad account pixels that count purchases.
Account
- Plan & billing — your Wabi plan.
- Integrations → Notifications — payment notifications, data transfer to other services, and other integrations. Some tabs appear only when they are available to your school.
- Settings → School — your school's name, logo, and address, payment acceptance, and your account.
First steps
- Fill in Settings → School so buyers can see whose school it is.
- Create a product and add a tariff with the Add tariff button.
- Click Publish on the product page. If the button says what is missing, see the article on why a product won't publish.
- Connect payments in Settings → Accepting payments. You can publish a product before that, but buyers can purchase it only after you connect payments.